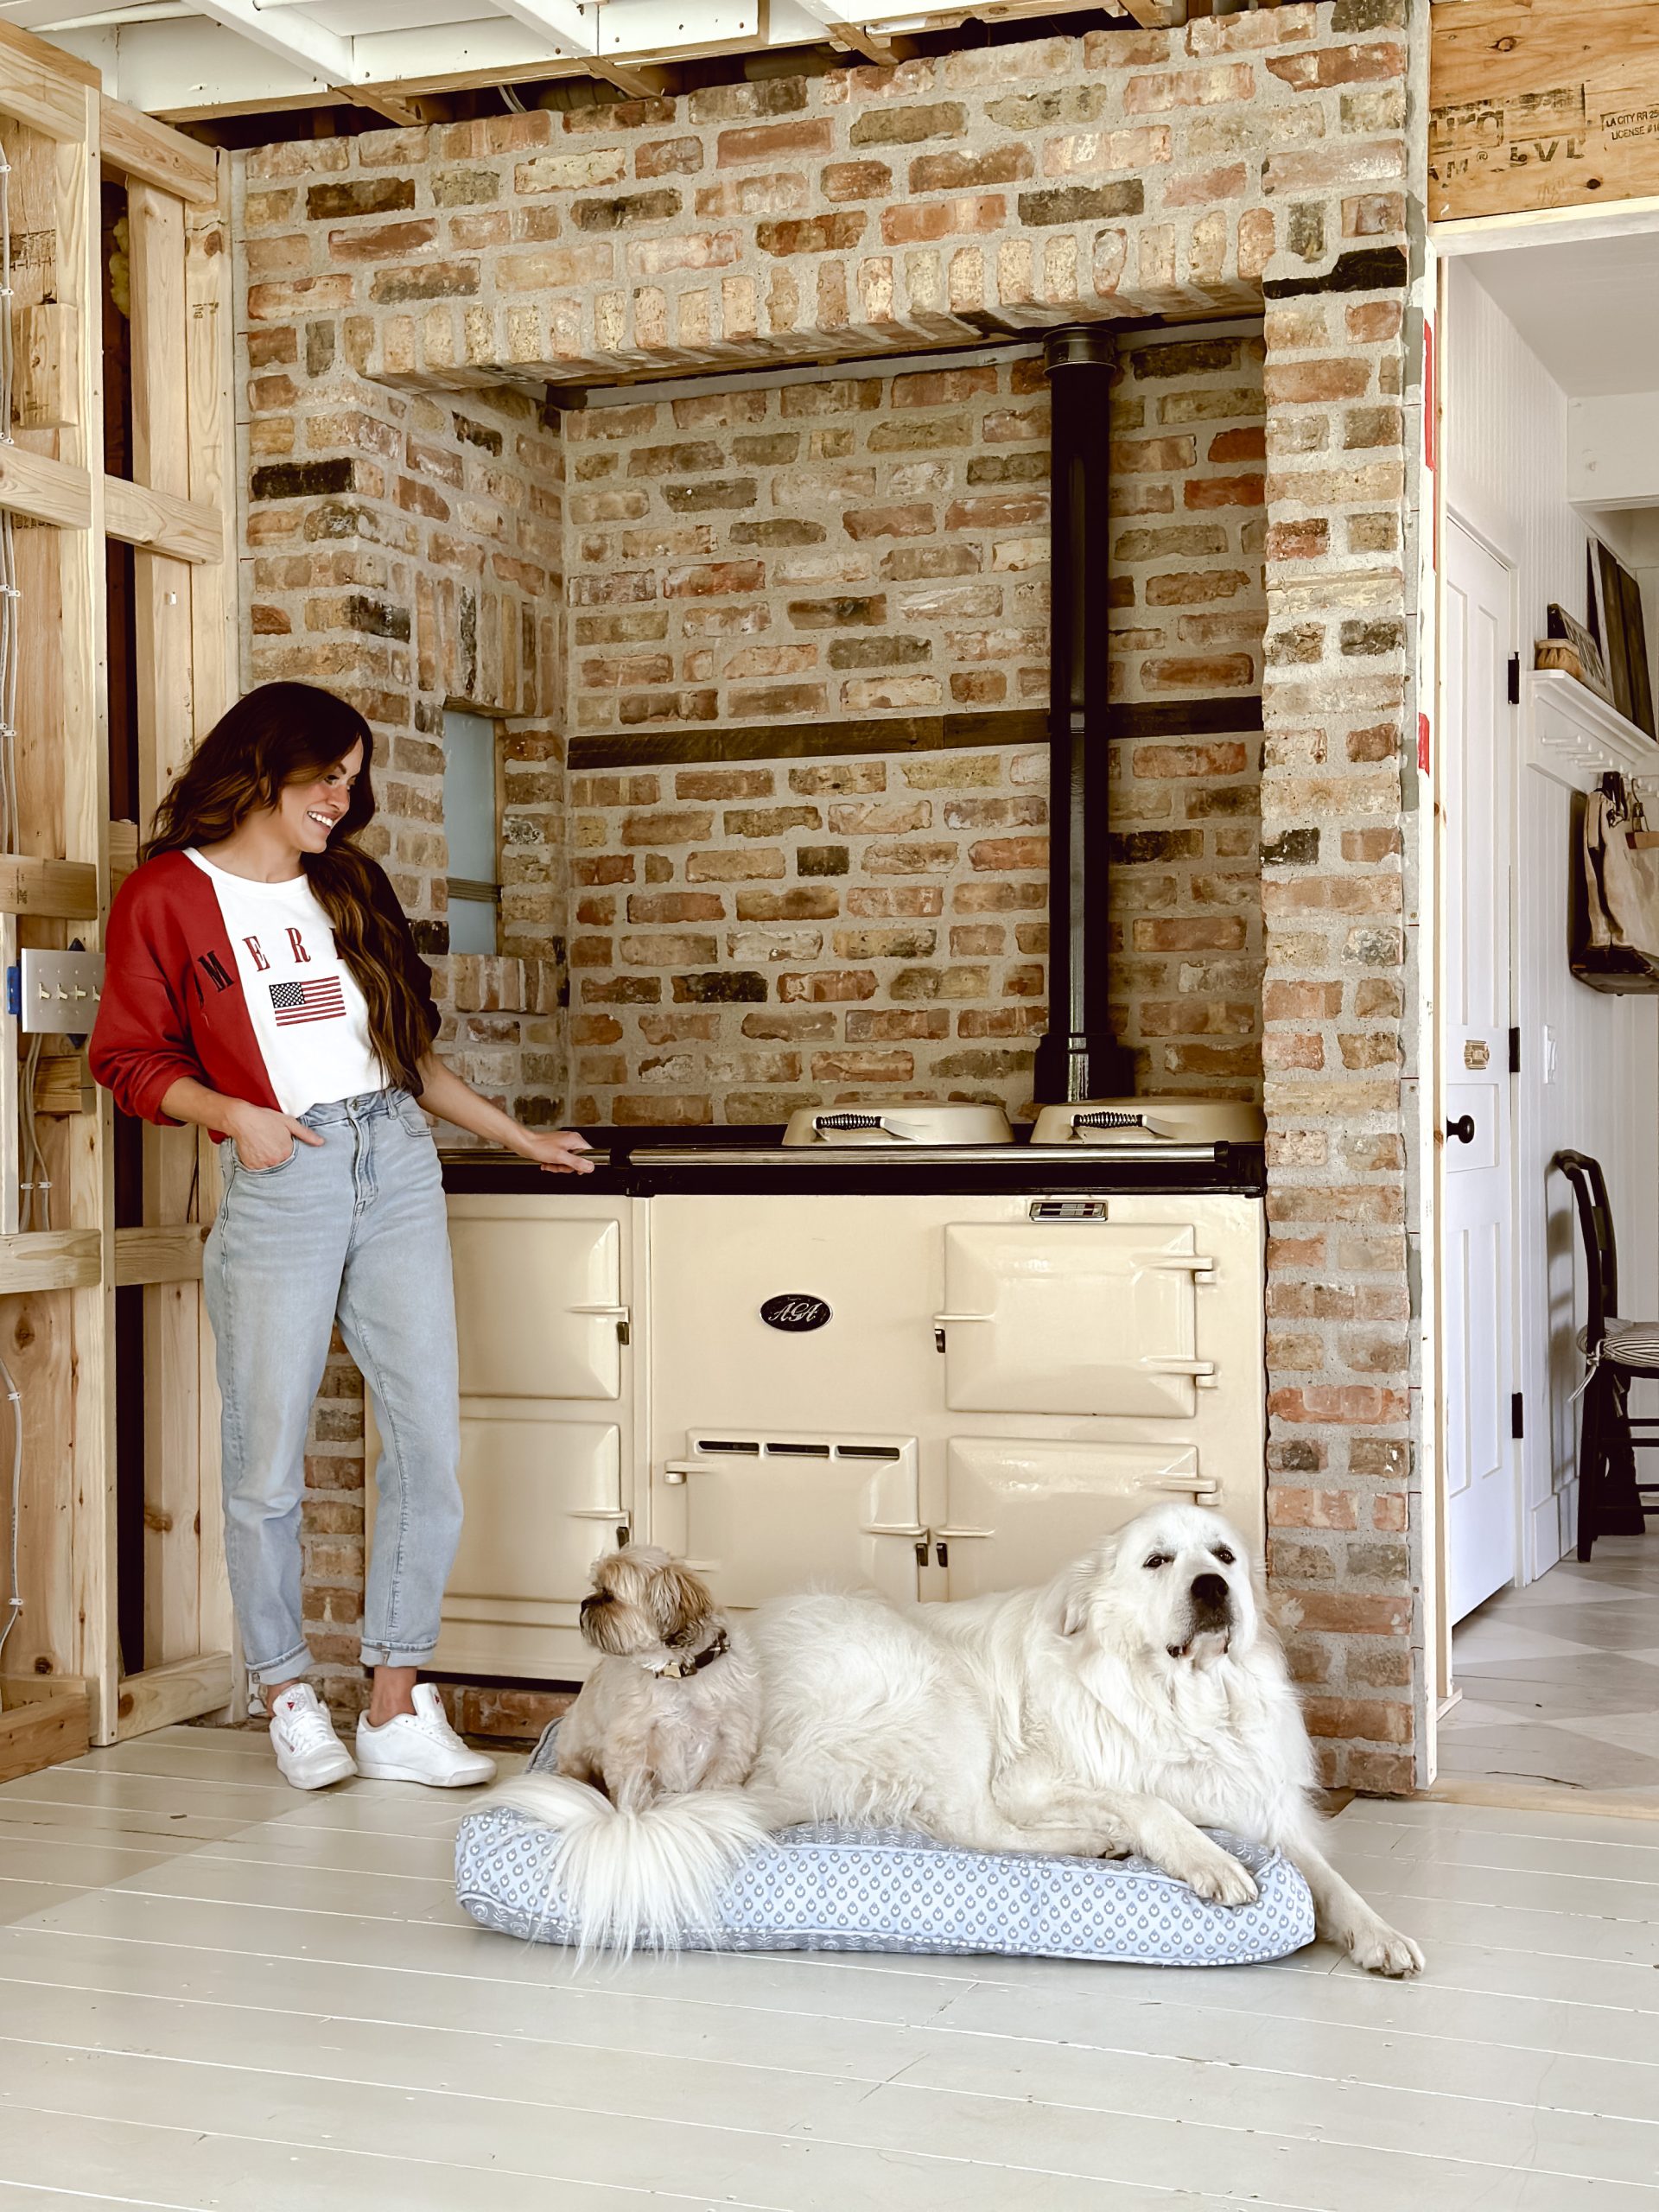
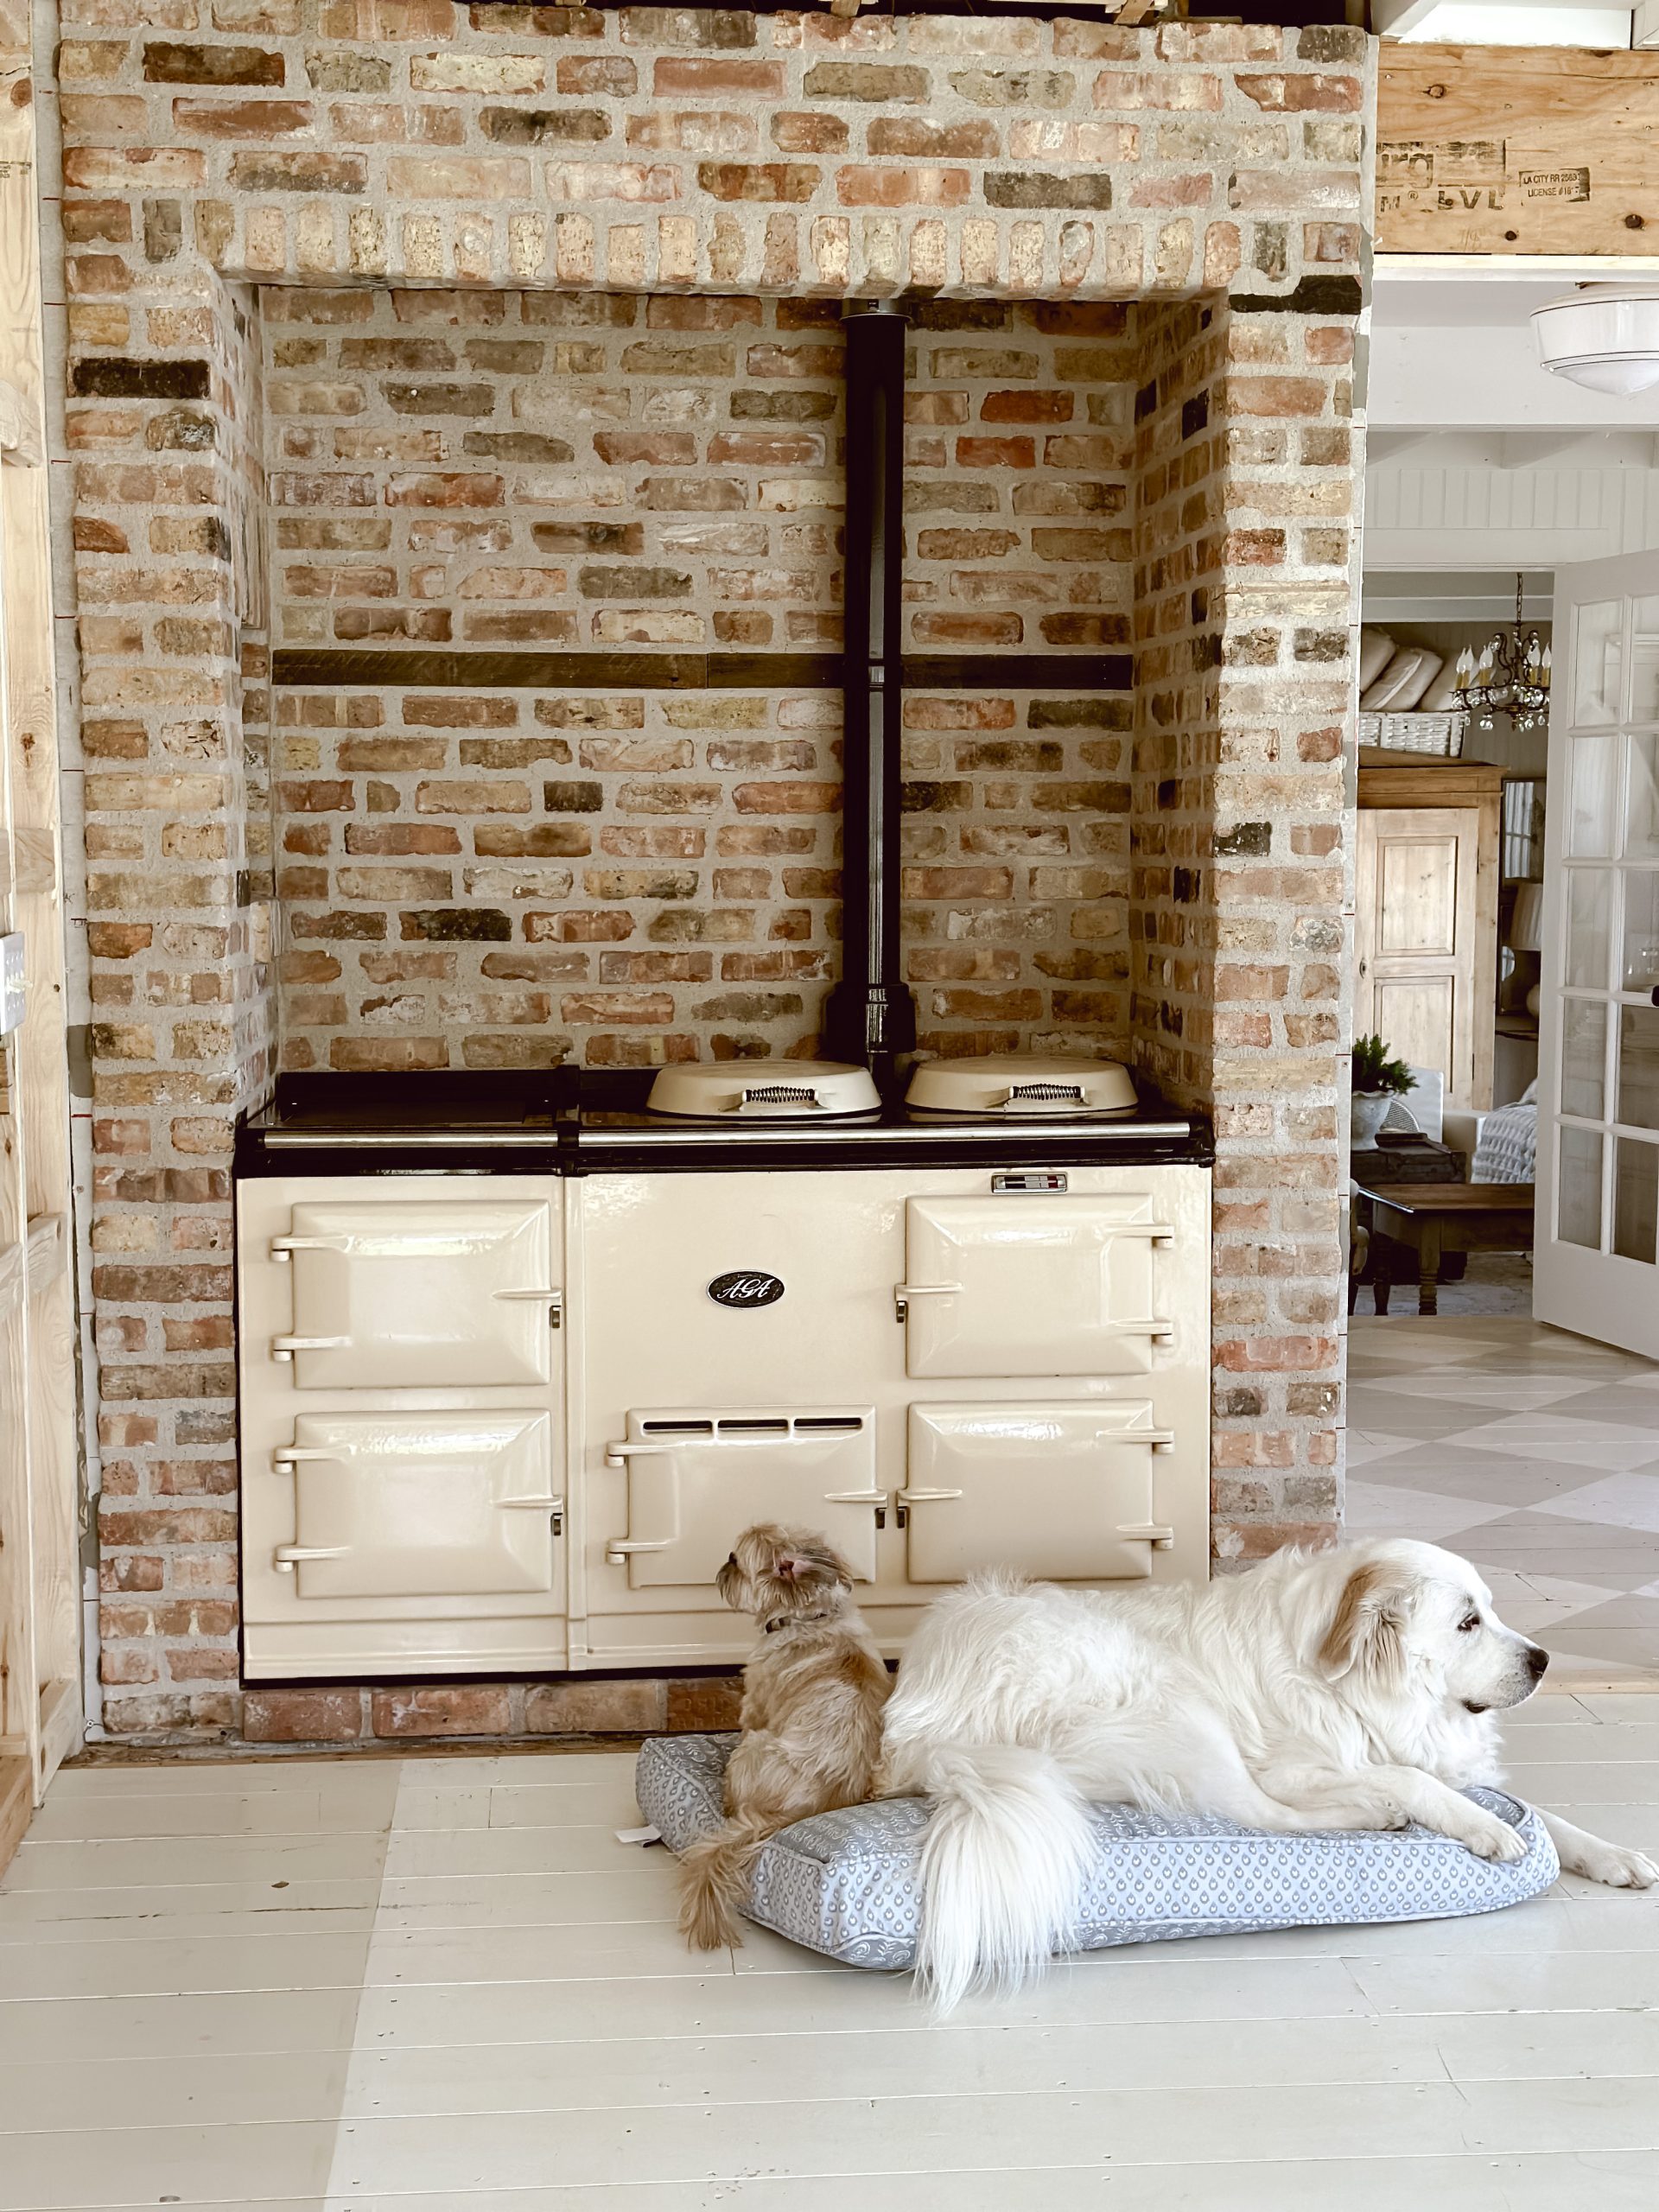
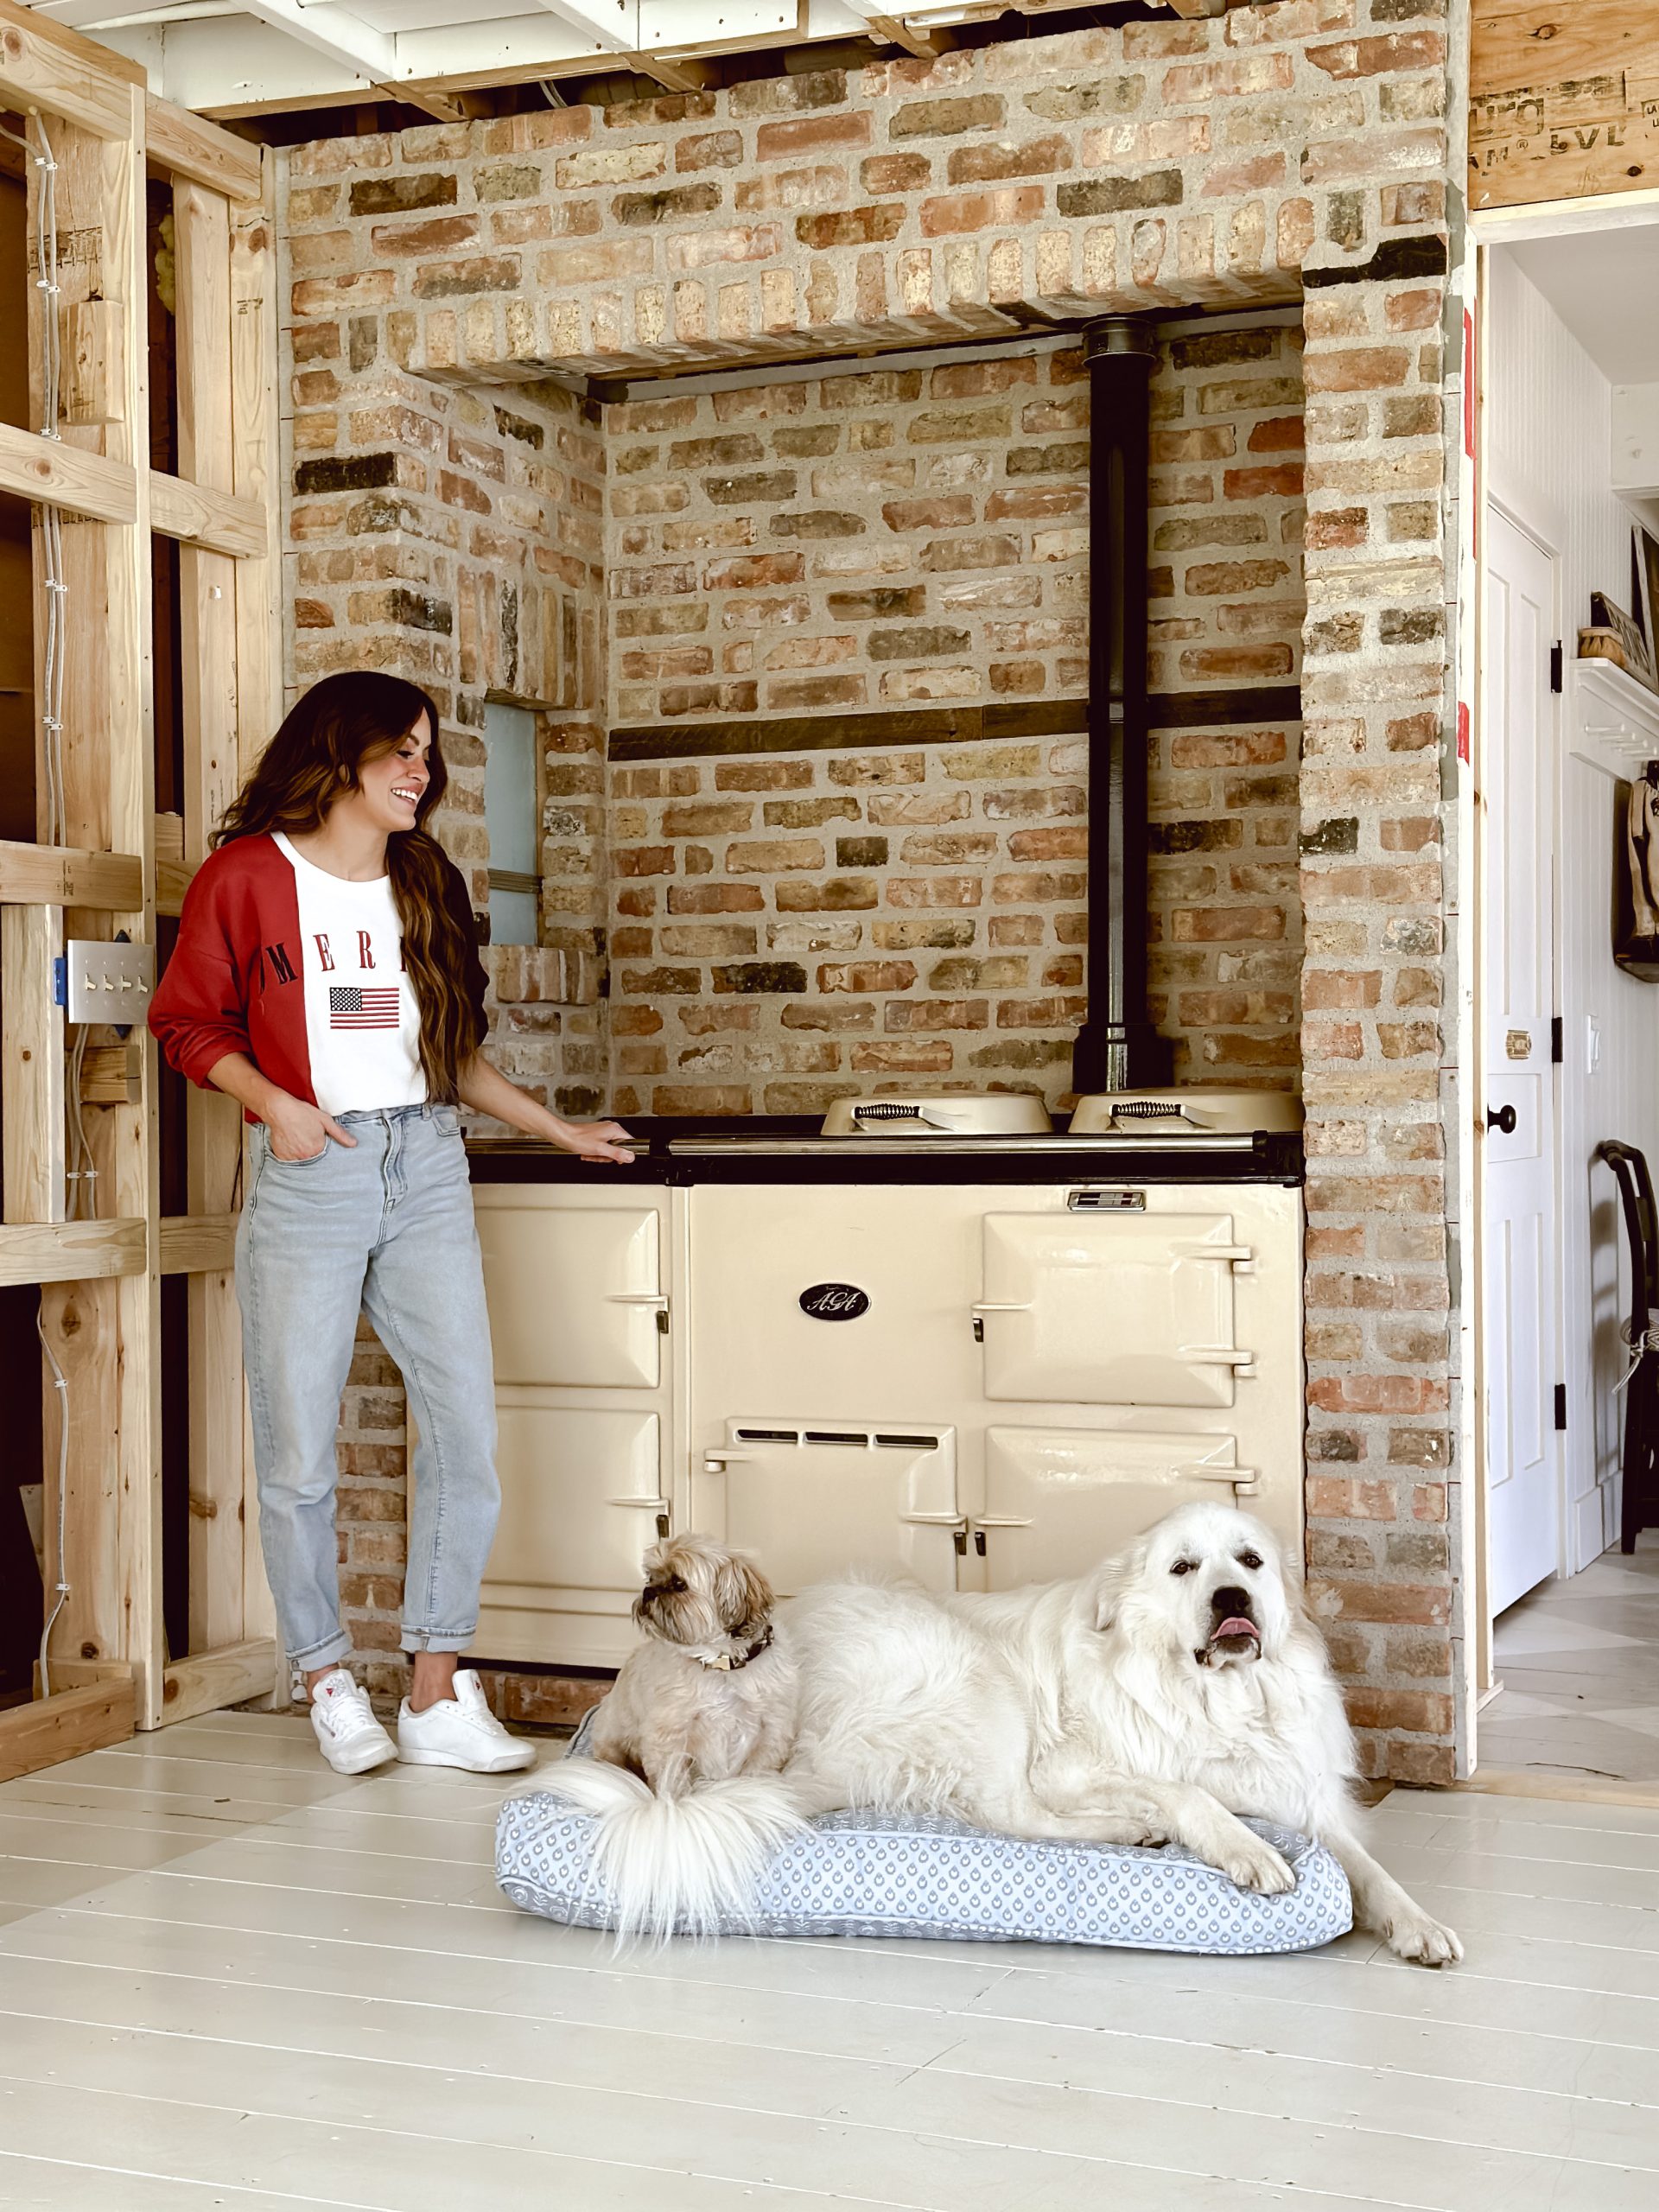
Okay here we are, let’s talk about this beautiful elephant in the room. Our new stove which is a refurbished Cream 4-Oven AGA cooker. It has been a long time to get to this point, and there is still so much work around this space and this cooker, but I couldn’t wait until the entire kitchen was buttoned back together, and since we are taking quite a bit of the renovation here in this space and a few others, it could be months before it all comes together. I have dreamed of this cooker for many years as I pined over old English cottage kitchens I would study in books & online that all had a version of this cooker in them. So let’s get into a little QA type of blog to answer some of the questions you may have about this cooker, and how we can came around to bring it to the farm.
What is an AGA
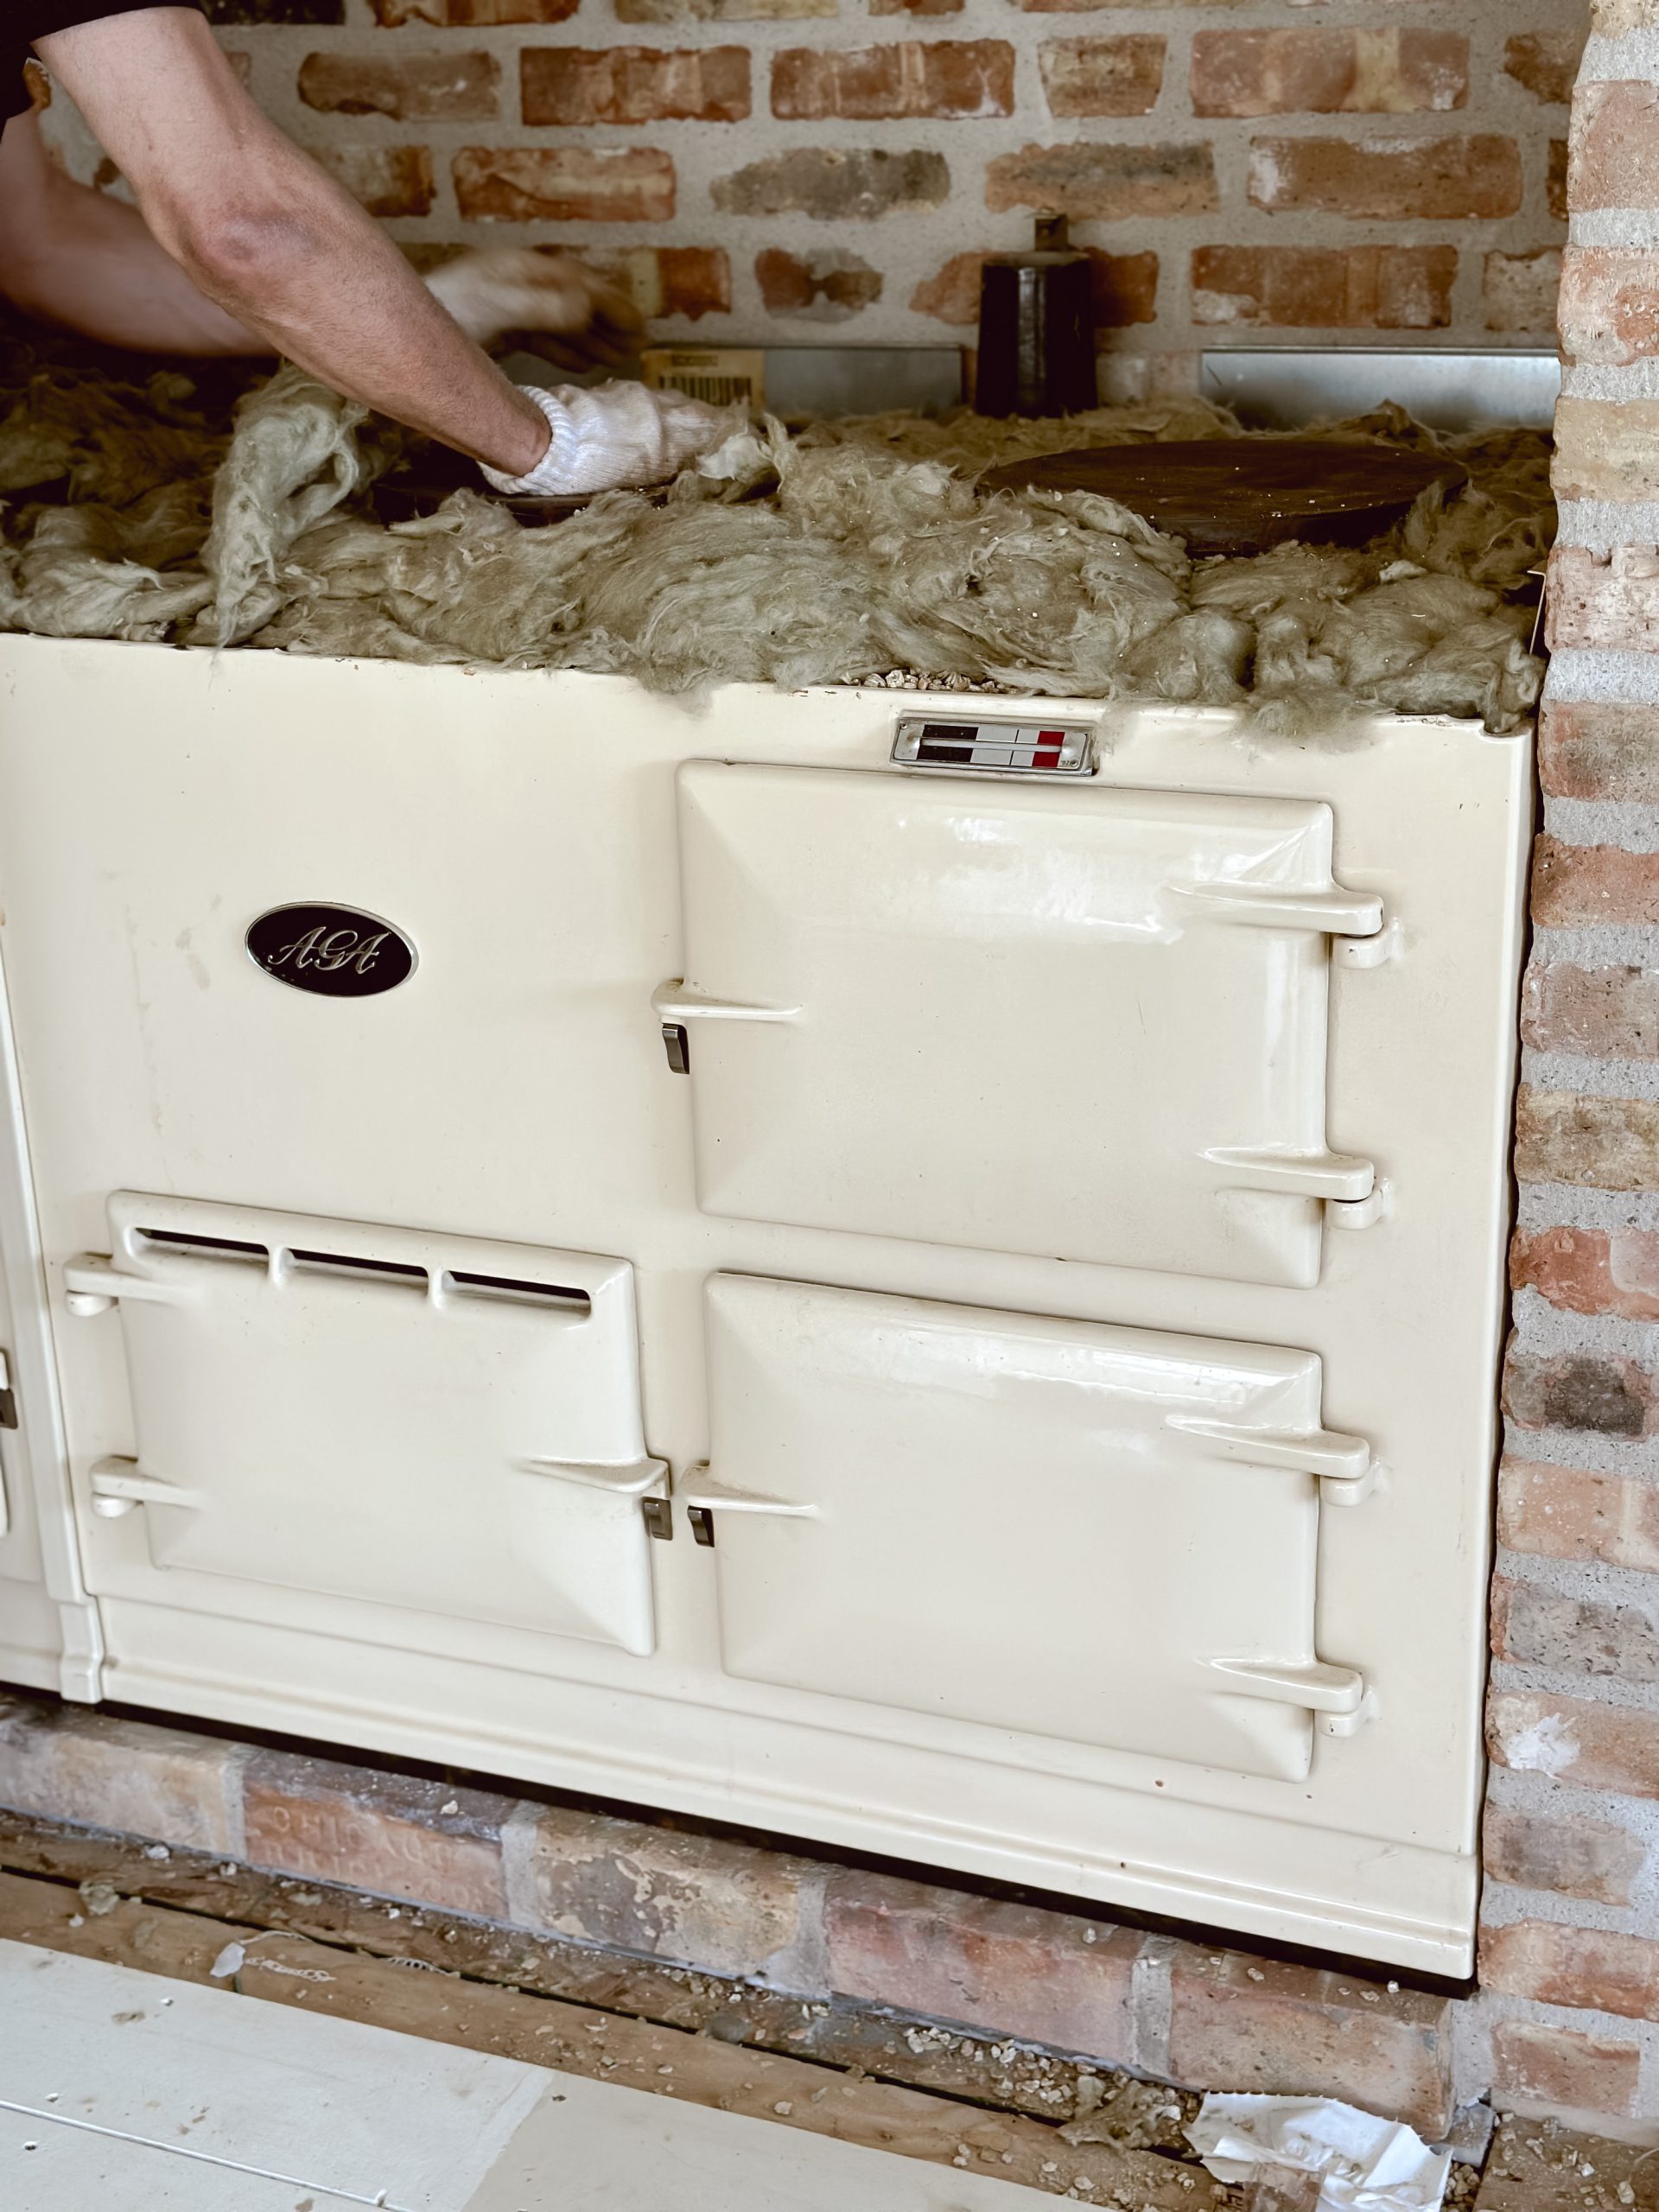
If you don’t know what an AGA cooker is or only recognize them from a few kitchens, let me give you a brief run down. AGA cookers were first invented in 1922 by a Swedish physicist named Gustaf Dalén. Dalén was blinded in an accident while working with pressure vessels, so he set out to create a cooker that didn’t require constant attention. He came up with the idea of using cast iron to retain heat and built a cooker that could be left on all the time without the need for adjusting the temperature. The entire unit is insulated with a few different layers from within the body to the gaskets at the door.
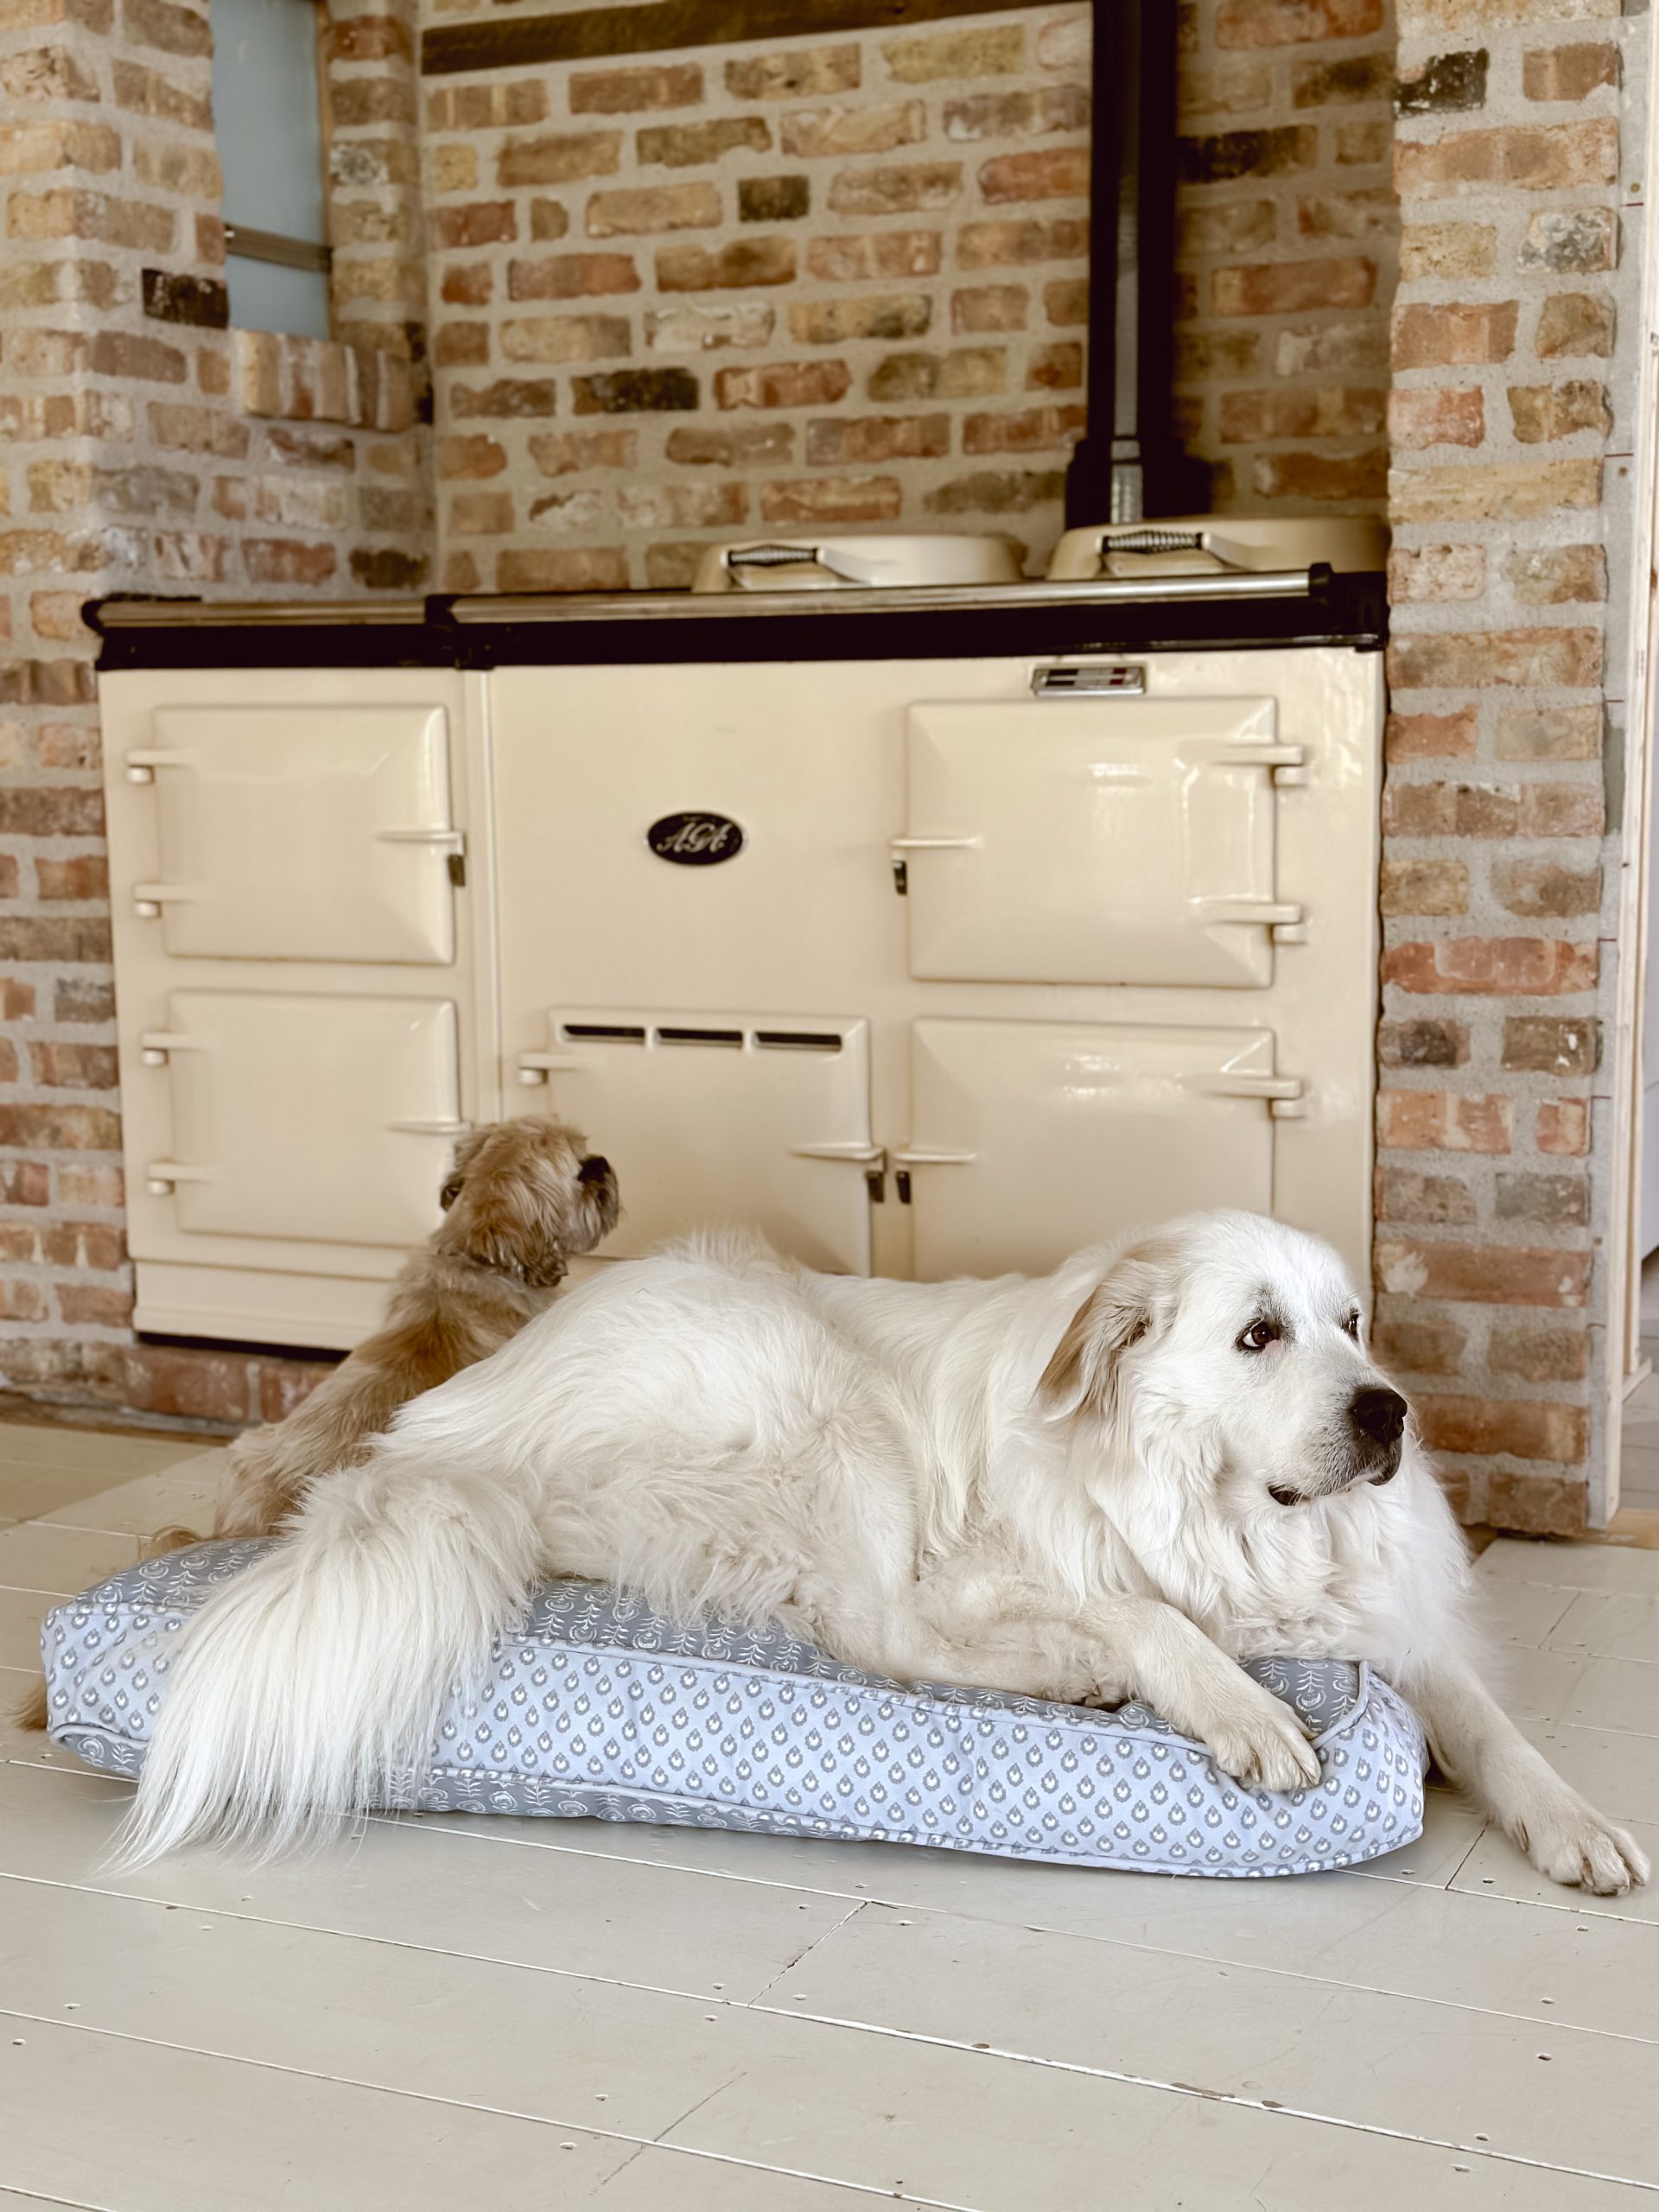
When looking at the oven each door has a pre-determined temperature, give or take a few degrees, when the cooker is brought up to running temperature. Top right is the Roasting Oven, bottom right is the Baking Oven, top left is the Simmering Oven, and the bottom left is the Warming Oven. The center door is where the burner assembly is located. There is a little variable here but roughly the roasting oven is set to about 450-460 degree, the baking oven at 350 degrees, the simmering oven is close to 250 and the warming oven is closer to 150 degree. I intend on using a laser temperature reader to read different areas but generally speaking these are good temperatures to reference when cooking.
The top has a warming plate, that is pretty hot. You can tap it with your hand but you can’t really leave it on the waring plate. The middler is the boiling plate, the hottest part of the cooker, and the far right is the simmering plate. The very cool thing about the simmering plate is you can cook directly on it, so we have already done grilled cheese and cheese quesadilla for Copey.
Okay let’s get into the QA for this beauty.
Aren’t They Expensive?
Lets get the big question out of the way. The price. We purchased this Pre-Owned– yes, Pre-Owned. There is actually a pretty substantial market for pre-owned AGA’s that brokers and installers have on-hand here in the US, able to be shipped to your home. We had no idea this was a possibility so we assumed we would never be able to own an AGA cooker, but one day with some determination we discovered this world of used AGA cookers & so we wanted to share that with all of you in case it’s been your dream to have on as well. We purchased ours from Chef Cargo (link) and had a wonderful experience. Matt gave us a list of installers in our areas as well as follow on steps after we purchased that started us on our planning journey. A quick google search will show you that Brand New Cast Iron AGA’s sell for north of 3ok, I can absolutely assure you that we did not pay that, Pre-Owned AGA’s sell for a range of 70-75% off new price points. After ours were shipped, we fell right within that range of 70-75% off brand new prices. And for some of the Ranges we were looking at, the more conventional ones, we were at the same price point.
How to you go from online purchase to fully installed?
So once you purchase your AGA online or in-person, I recommend you find an installer to see if you can get them to come onsite ahead of your install and look over your space. We did not do this, and I lost a lot of sleep over this, but over the phone and through the use of a digital copy of the manufacturers specs and dimensions to get our space built out for the cooker.
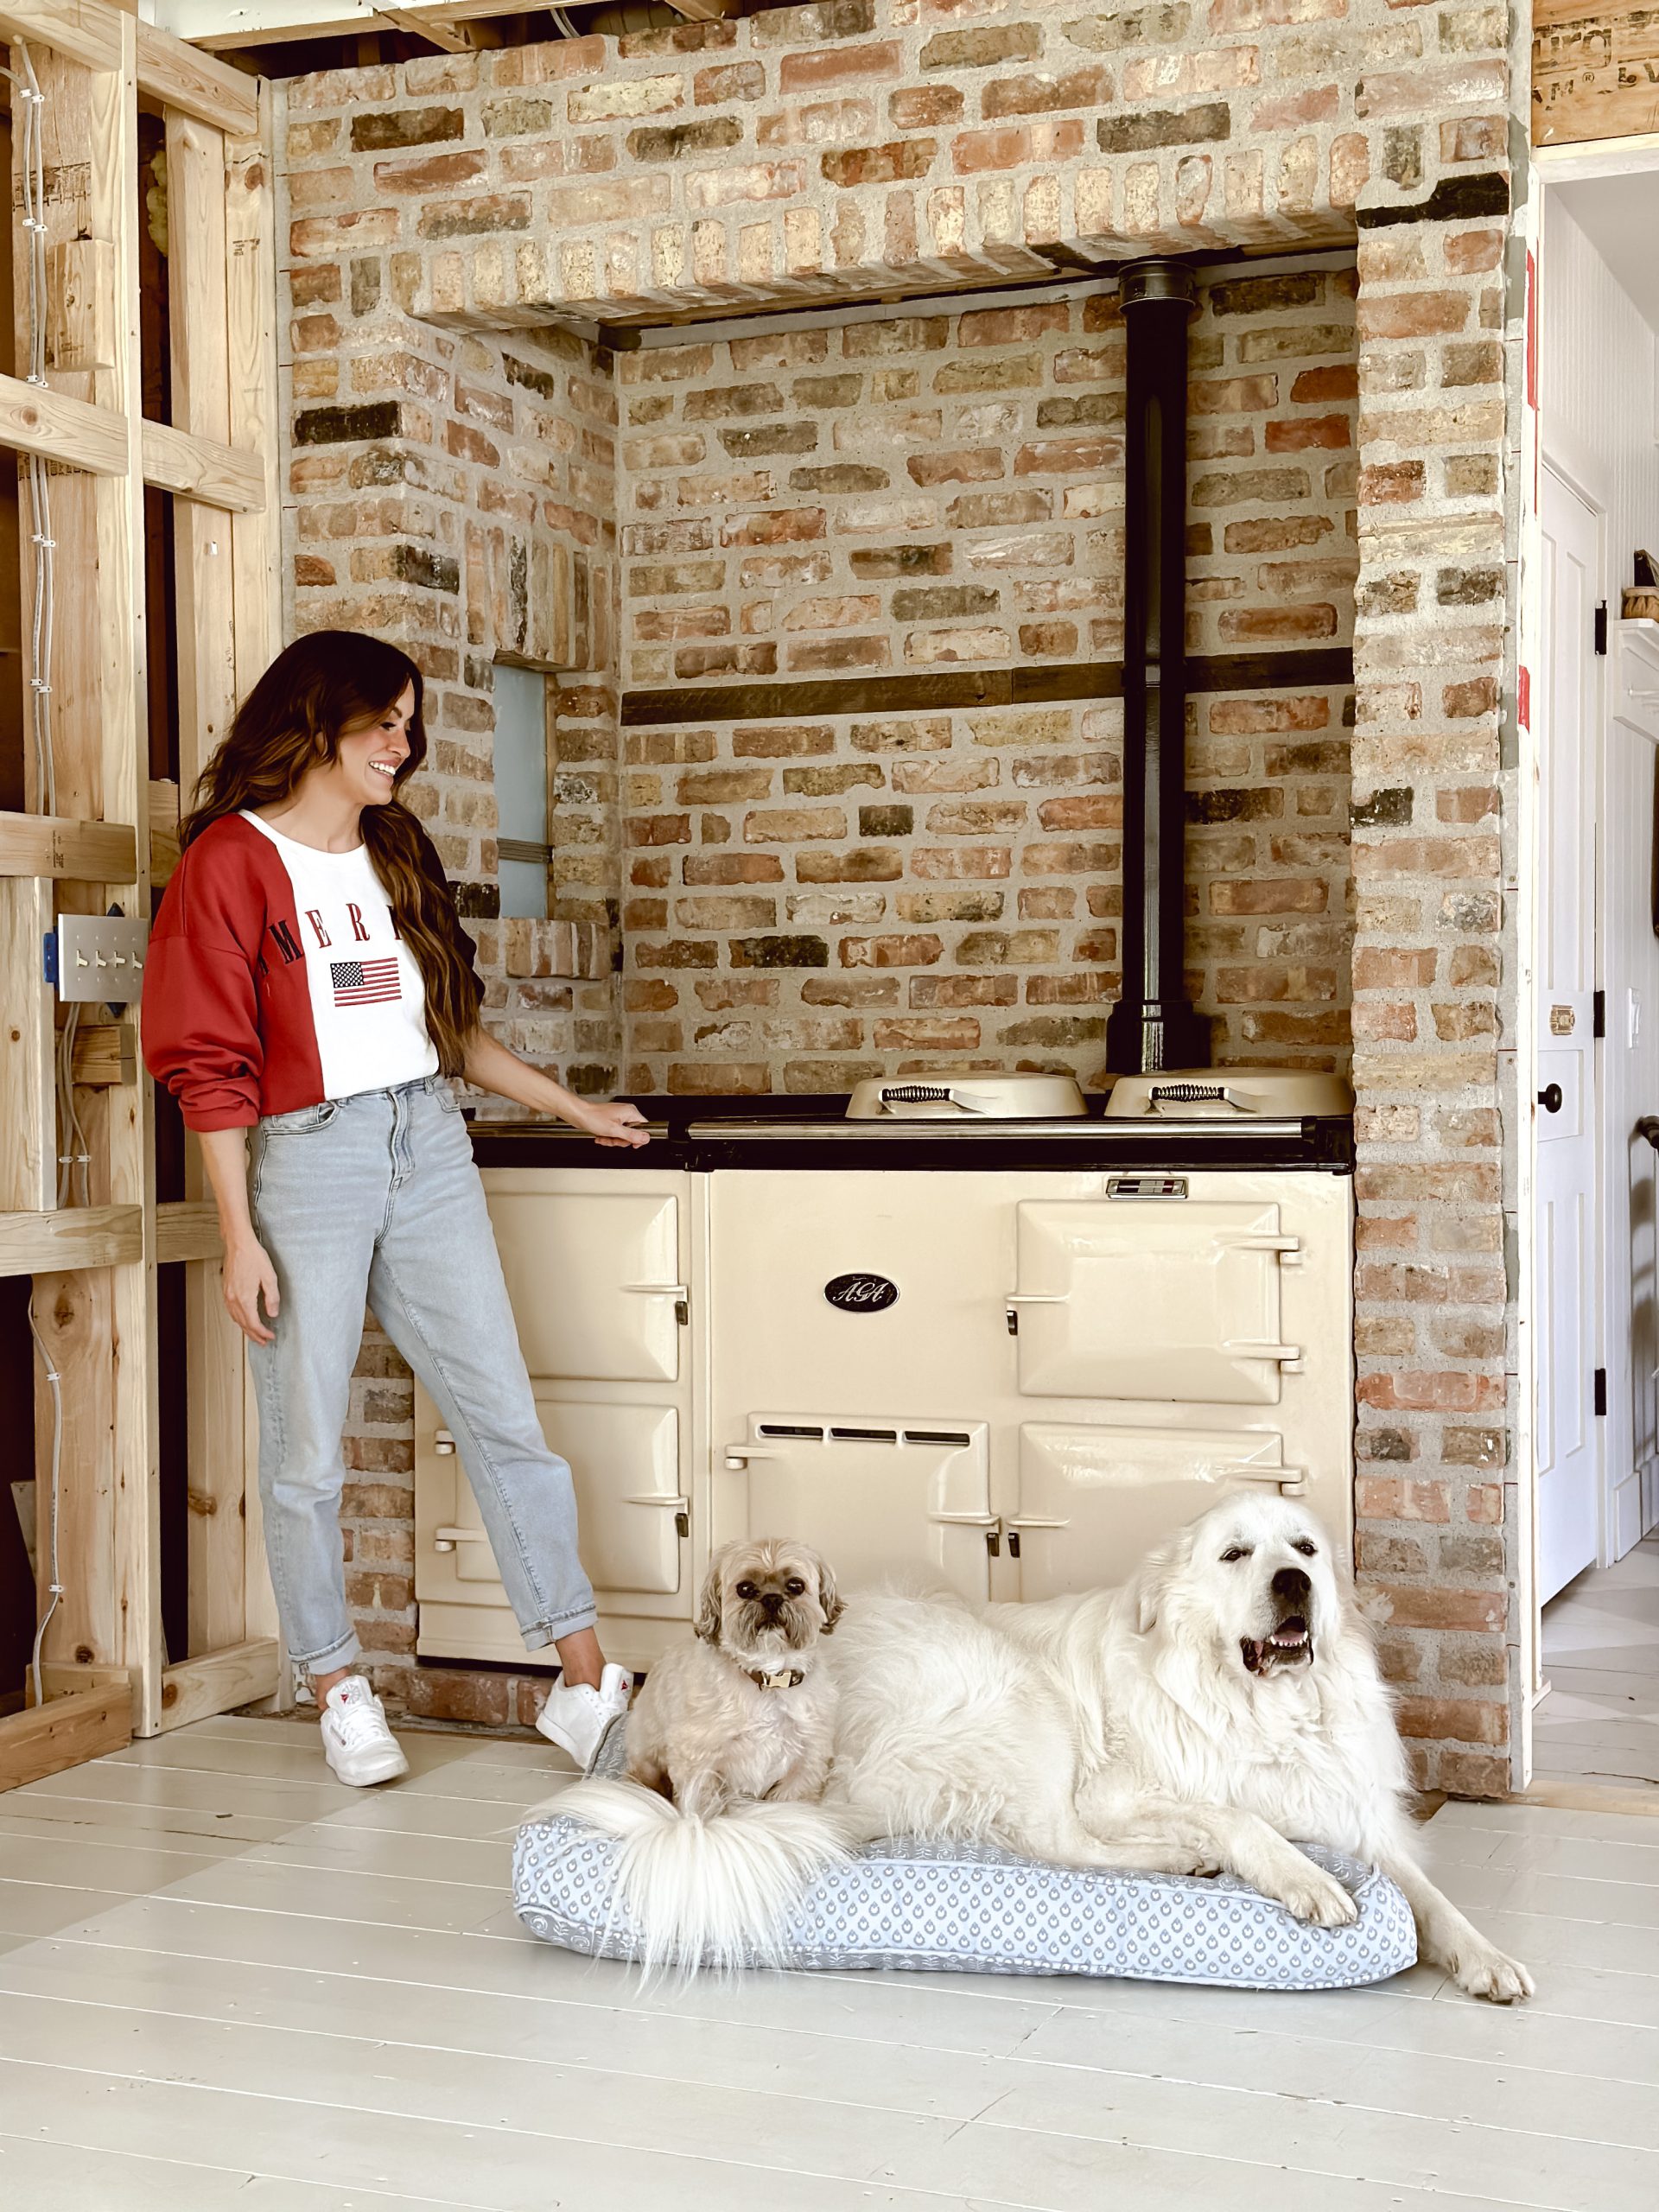
We have an Open Flute 4-0ven AGA, which required a B-Vent installed to vent out through the roof. There are two versions of these Cookers, the Open flute, which is the exposed vertical black pipe going up an out of the house, and direct vent, which isn’t exposed. Thankfully we had a pre-excisiting venting for our previous hood, that we used to route our new B-Vent relatively easily. This did require a separate professional to install the vent. When you call around you realized this isn’t a super common appliance, we found that wood stove and fireplace installers were the most knowledgable for this application.
The AGA rough height is 33 1/2 inches tall. We built a little platform to raise it up to our counter height. This seems to be normal practice in most kitchens so a little step up platform most likely will be required. We built ours into our Stove Cove with lumber and plywood. We covered the top with thing aluminum sheeting and faced this step up with full bricks that our masons installed.
The installer did mention that the sides, back, and bottom should be a non-combustable material. So we had cement board, our brick veneer, and top plated the step with a thin layer aluminum nailed in place.
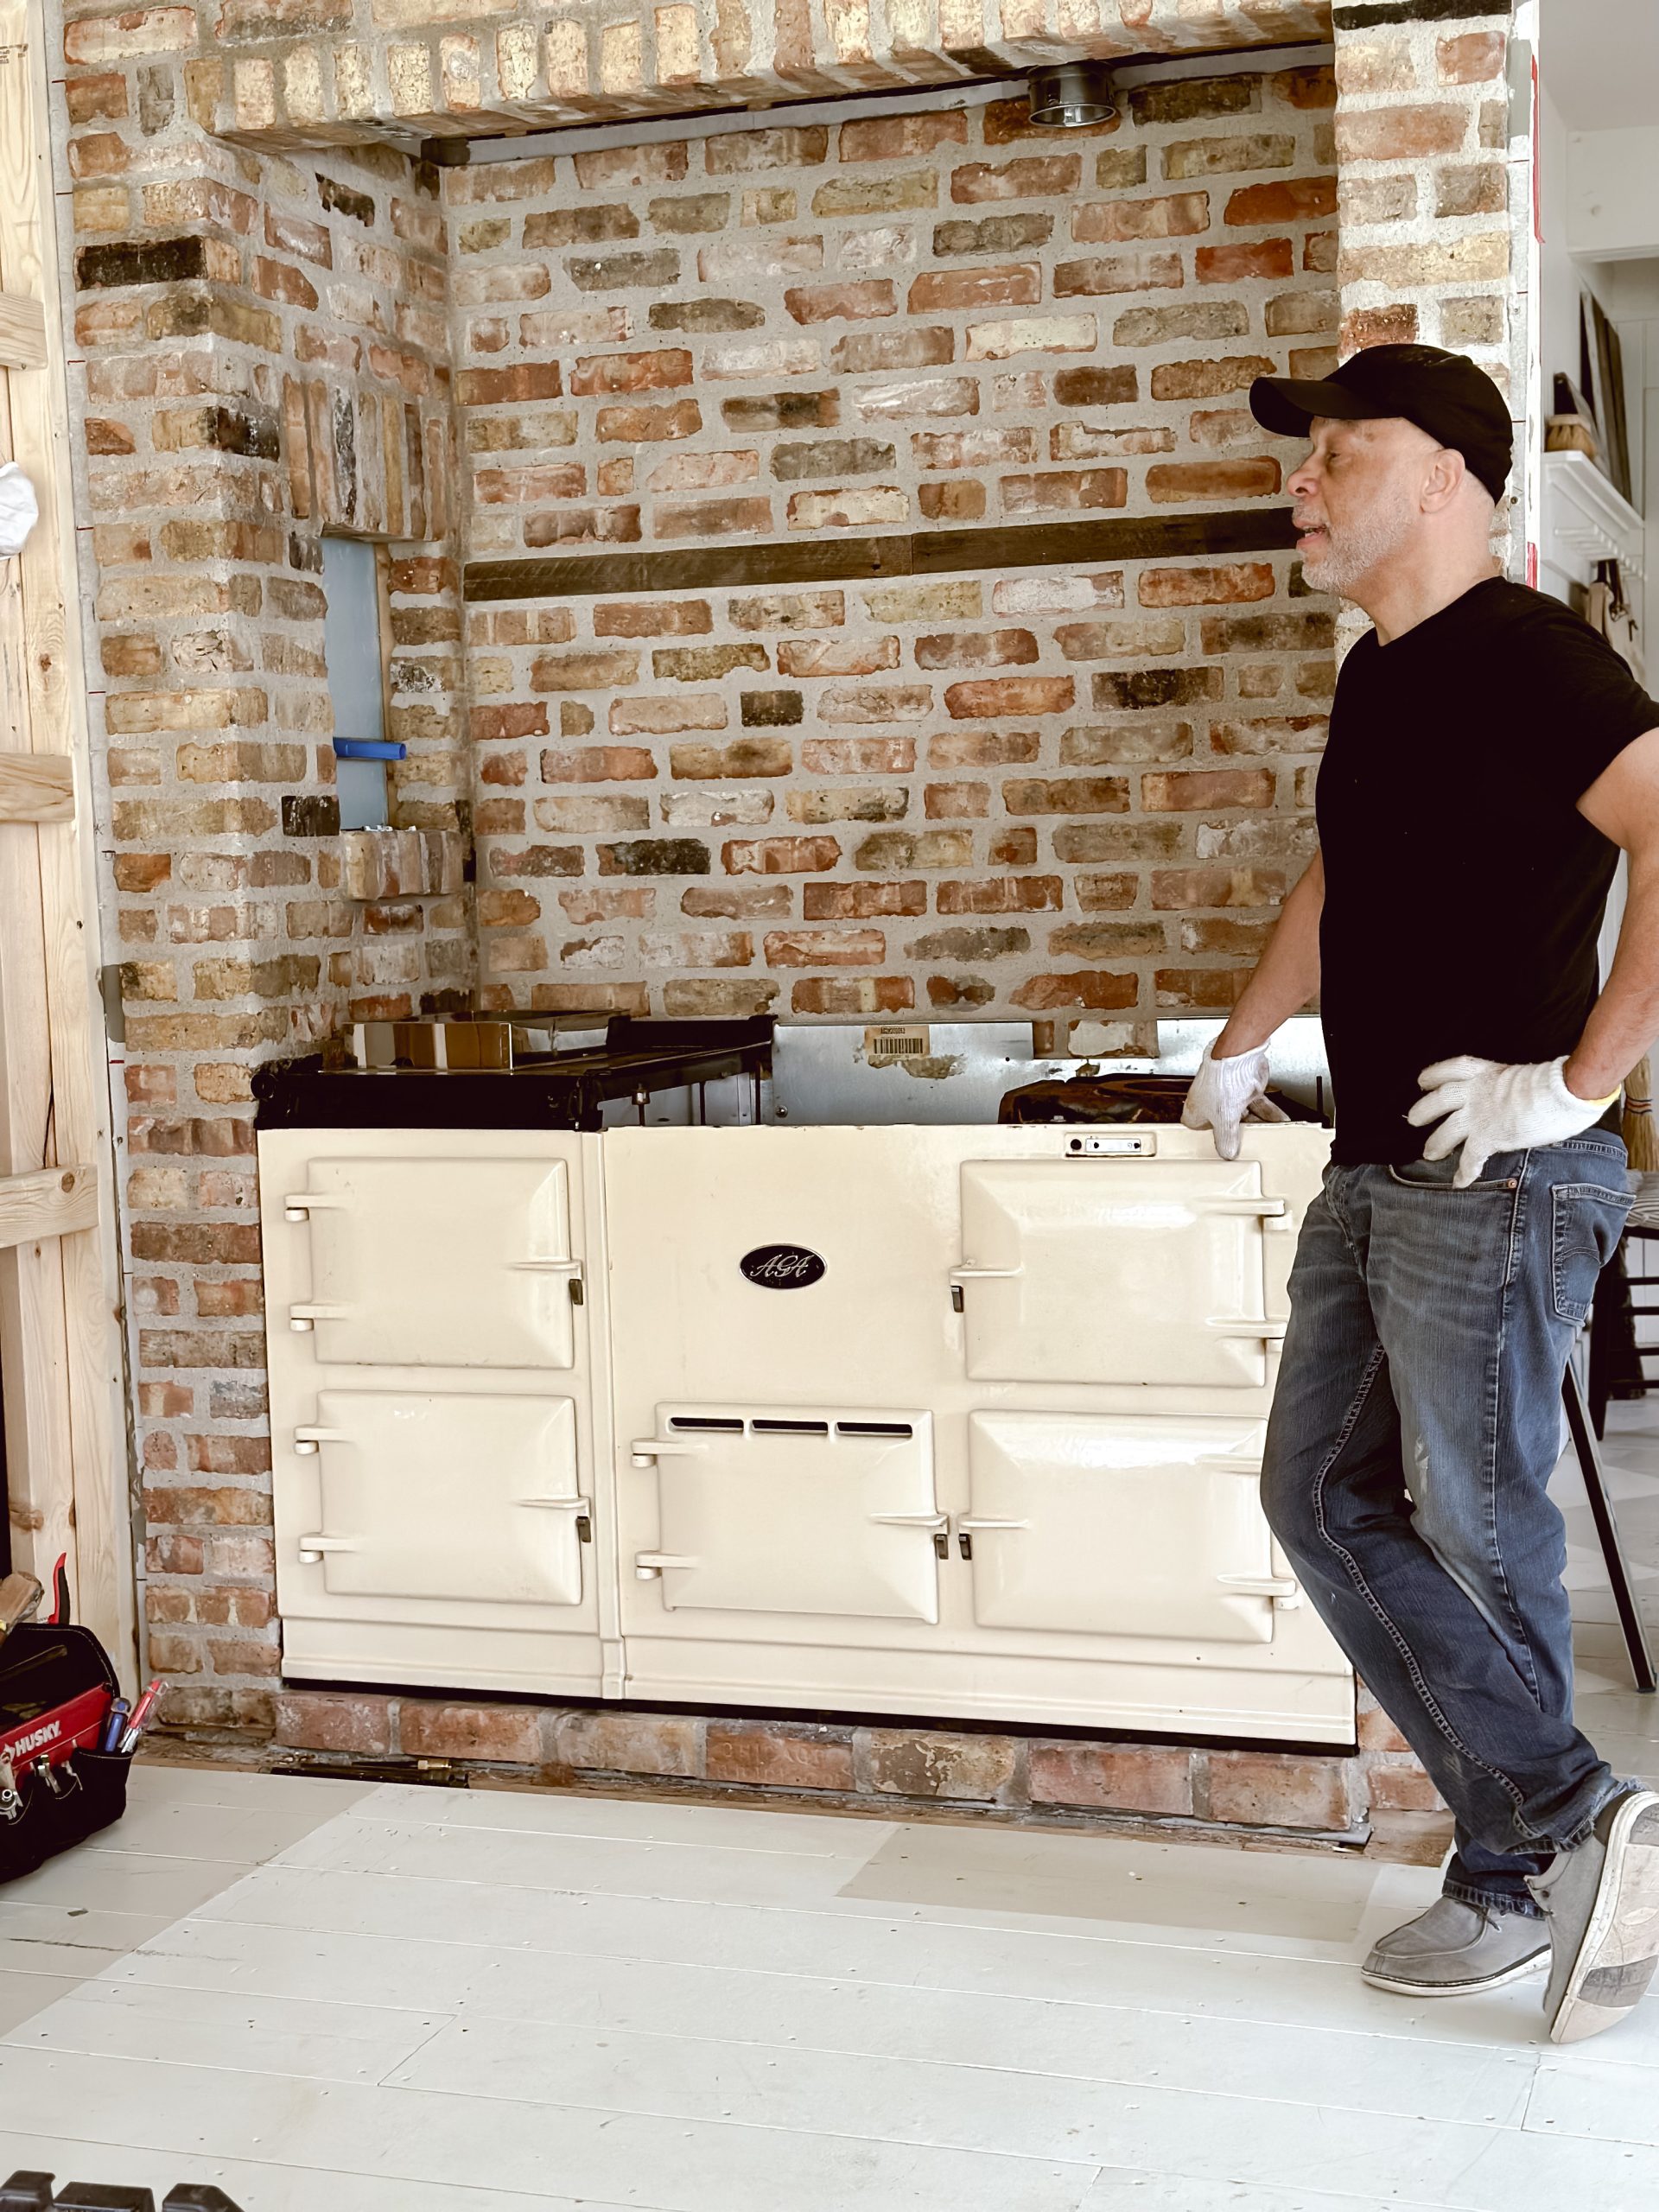
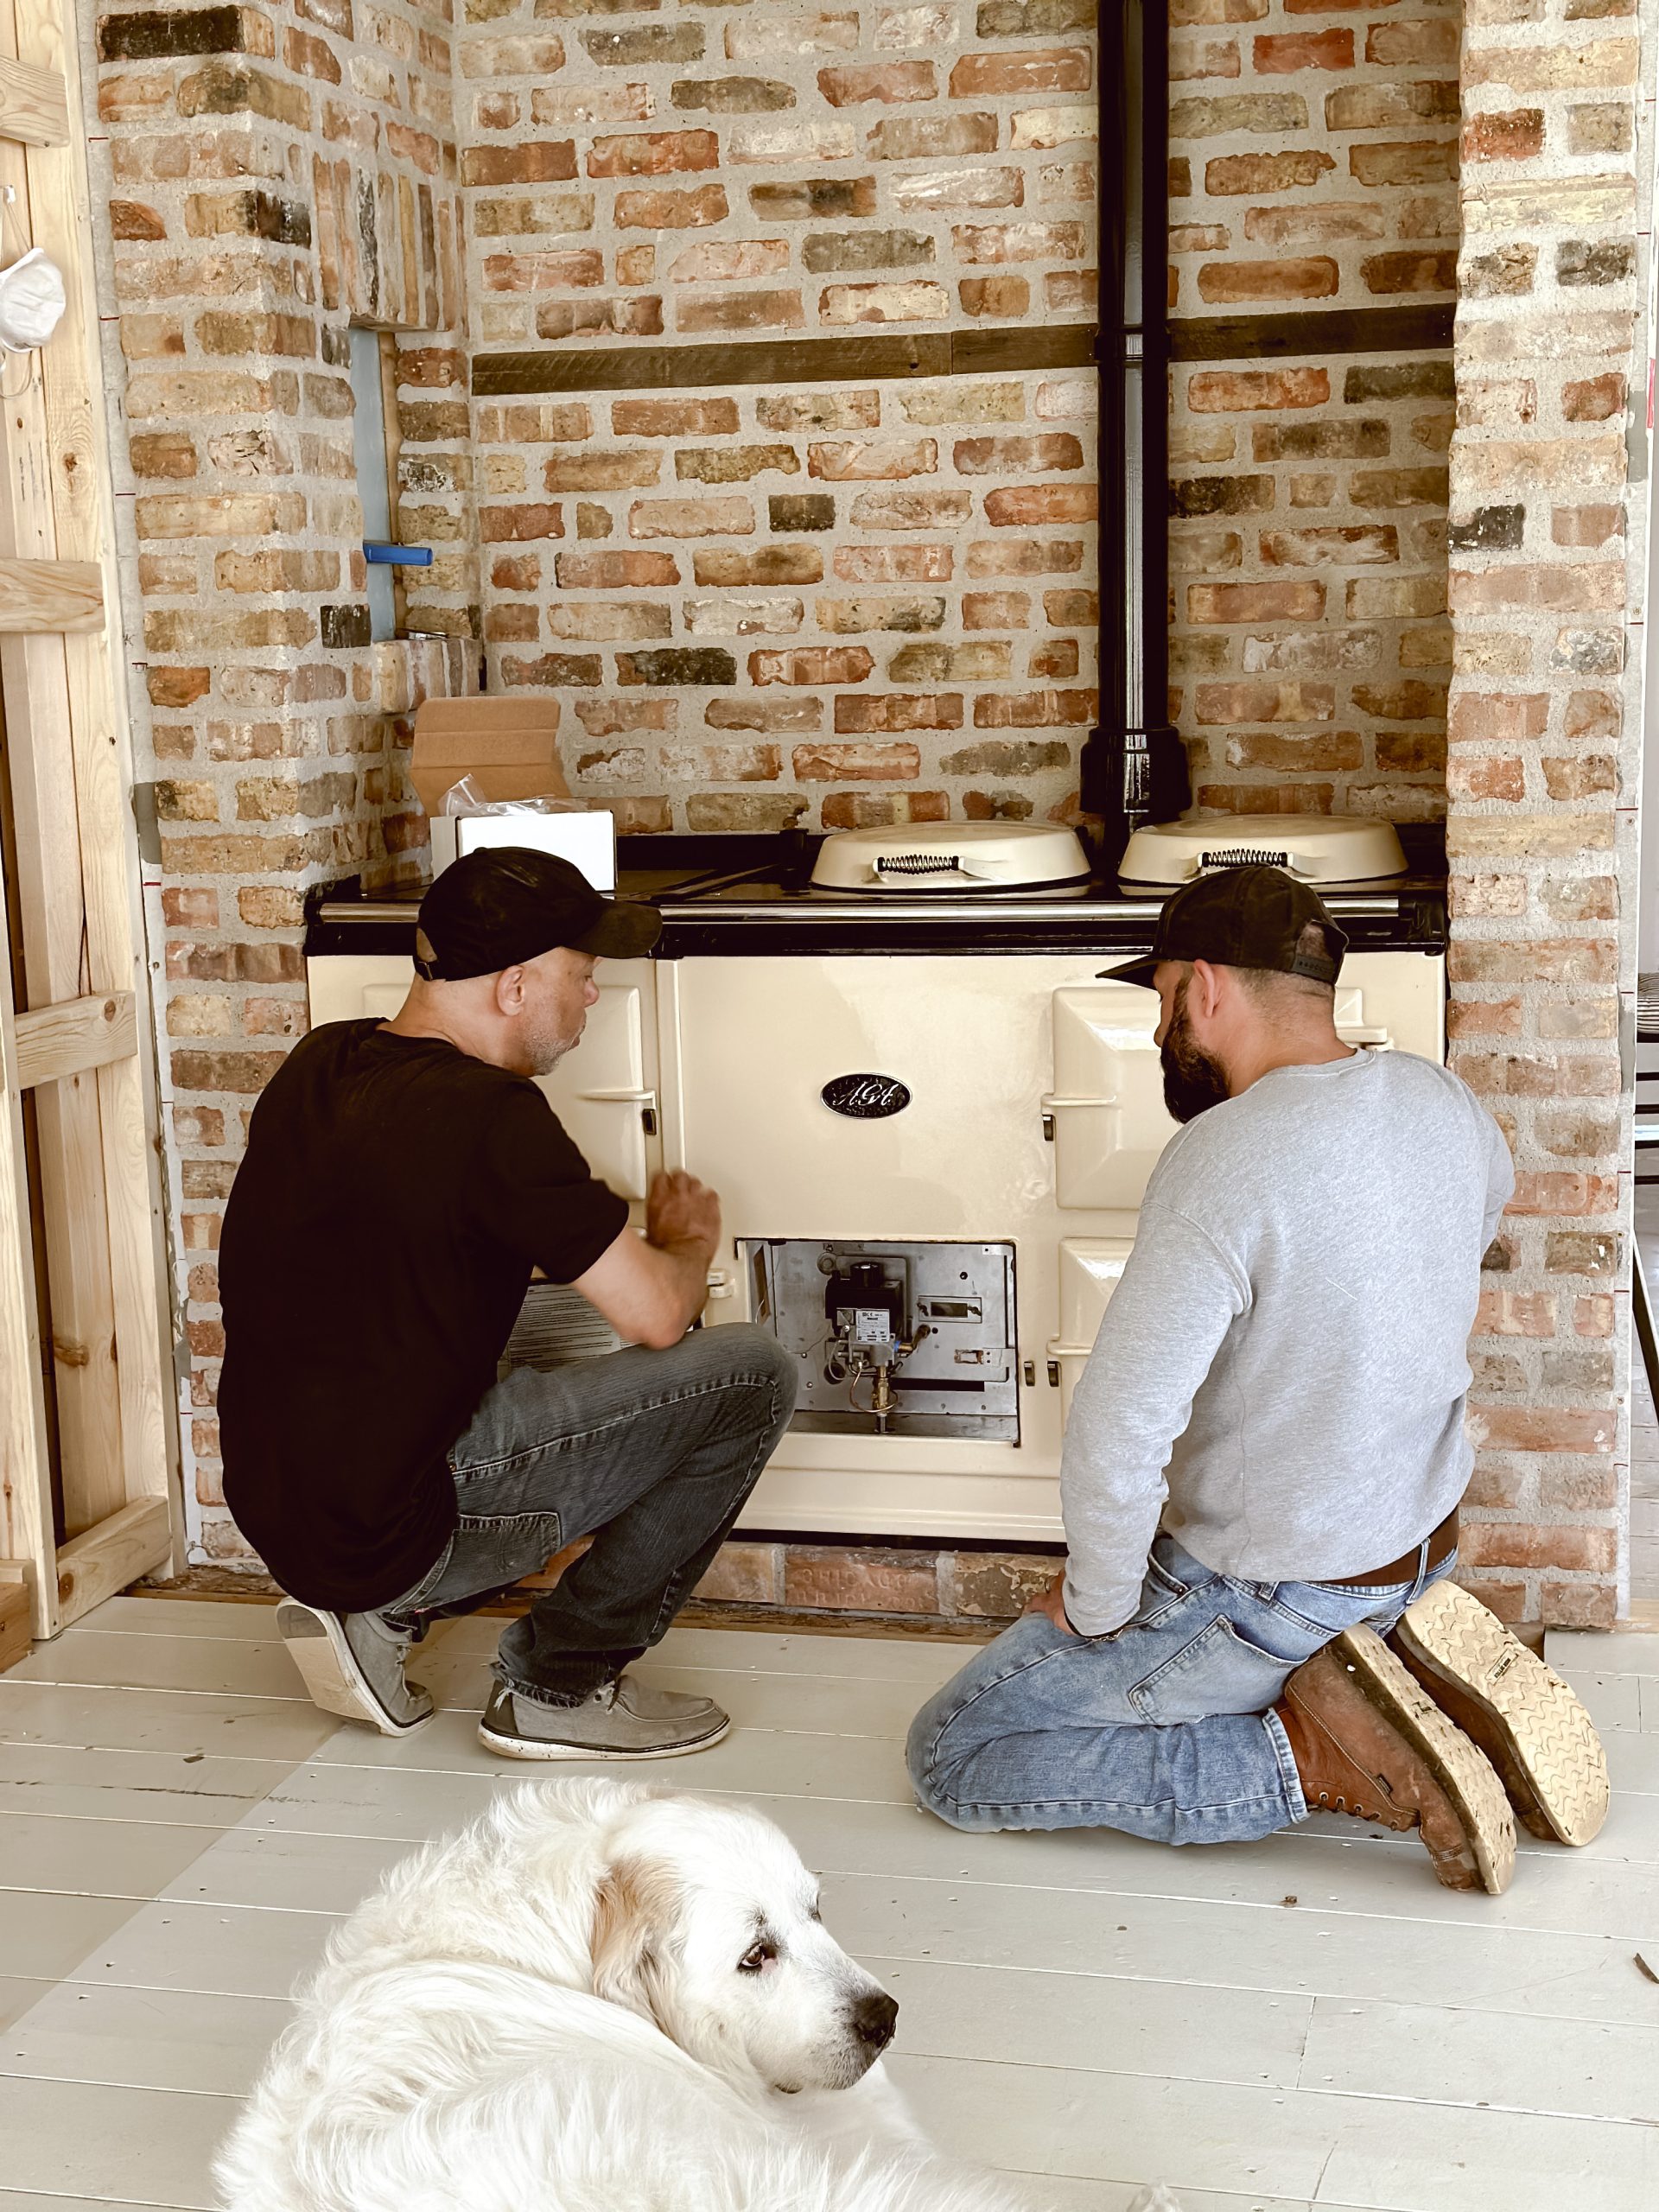
To install the AGA you will need to find a certified/licensed AGA installer. The AGA when shipped comes in two crates and it is assembled in place. I think roughly the AGA weights about 1200 lbs, so once its installed its not sliding anywhere. This isn’t one of those, “only certified installer” scenarios, like connecting gas lines, or installing a water heater, where homeowners with some common sense can tackle the task, this is an absolutely no way around it, experienced installer required.
We used Rob from The Aga Studio (Link), thankfully he is from Michigan, but he has been called to install from Georgia to Mackinac Island, and everywhere in-between. The install takes about 1 1/2 days and had a wonderful time learning about the install, parts, expected service and maintenance, as well as some tips and tricks as he owns a few. Rob also does refurbish and resell pre-owned AGA’s as well with some very-very competitive prices as well.
Where can I find one?
The broker we used was Chef Cargo, and our Installer has some as well, The AGA Studio. We have found some on Facebook Marketplace as well for anywhere from $5k-9k. Also general online searching is a good idea as your area may have them for sale in other capacities too. My recommendation would be to look to see if you have an installer nearby and see if they have one for sale, or know of anyone selling. We found that some people purchase a home with an AGA that don’t want them, so they call an installer to remove them or try to sell them. If there aren’t any current buyer the Installers will remove them and purchase them and keep them on hand. The best part about this, is there is less hands in the process, and the installer typically will refurbish them once they have them.
Can you Change the Color?
Yes and no. The enamel top and front can be recolored and re-glazed, however our installer was not aware of anyone in the United States and only a company in the UK. The price would cost to send it way and ship it back would be close to the cost of a pre-owned AGA of a different color.
Why Cream?
We were going between a cream and a white unit. We selected the cream for a few reasons. We felt it complimented a brick veneer better, as well as start are transition into bringing a little more color into this space. We also loved that cream was the ORIGINAL color of the AGA cookers so it has that historic charm to it. We will have no other appliances near this space so we also had no other appliance colors to work around.
What Prep work did you need to do?
- We started with removing the old kitchen cabinets we had in place.
- Then we removed the stone wall that was previously installed when we purchased the home.
- Identified the stove cove were the AGA was going. Determined the support below, which we had a full block wall below to support the previously installed stone wall.
- My brother, Johnnie Debruin Builders, corrected some structural issues and get a new header in place that was potentially causing a few issues in the floor above. He created a step up to bring the AGA to our current counter height and framed the cove and cement boarded the interior walls to be ready for the masons.
- There was some electrical ran in the cove that needed to be re-routed and repurposed, as well as creating a new switch plate locating for the new pantry.
- We added a water line for a future pot filler and niche to be installed in the cove.
- We then had our masons, Brixstone Masonry, install brick veneer.
- Once the AGA installer was onsite we determine the best inlet and placement for the gas, and installed a brand new 1/2 inch line below.
Does it make your Kitchen Hot?
I read somewhere that it was so well insulated you can’t really feel any heat. I don’t think that is entirely true. When you get a few feet from the AGA you can tell its on. The warming plate does kick out a bit of radiant heat. A lot of seasoned AGA owners utilize this to help dry clothes, wet boots, and other things. Our home is pretty wide open with a lot of windows, we are always catching breezes, in addition we have a beefy attic fan that gets air moving. We will have to see if it creates any un-comfort this summer, but at this moment it isn’t making the entire space warmer, but next to it you can feel its warm. The doors, and Hob covers (hot plate domes) do keep in a ton of the heat. Again we will shoot this so you can see how how it is open, closed, near and far.
What’s left for around the AGA?
We have water ran to the niche above we just need to pick a backsplash tile for the back of the niche wall.
We purchased some antique ceiling tin that we plant on installing.
We are trying to determine our lighting situation if we need something over top or not.
The flooring in front (and throughout the kitchen) is going to get updated as well.
Have you Cooked on it yet?
Yes we have. Once it was installed it took about a 2 days to get to temperature. We have only had it for less than a week now, so we are still learning the process, but we’ve had family spaghetti, grilled chicken fajitas, and quesadillas. Burgers, Salmon, and Chicken are on the menu in the next few days. Once we get more comfortable with it, I am so excited to do a full Turkey or some larger items, as well as finding some healthy baking recipes to do regularly. Copey is obsessed with baking so we are on a mission this summer to make this a routine– he’s really good with remembering the instructions and its just so much fun.
You can see more about the AGA cooker as we go & more of our kitchen Renovations [HERE]